Introduction
Planning an outdoor event means organizing more than just food, entertainment, and seating—you also need to think about safety and crowd control. One of the most effective solutions is installing a temporary fence. Learning how to put up a temporary fence for events ensures you can guide foot traffic, protect restricted areas, and maintain order without the need for a permanent structure. With the right materials and setup, temporary fencing can be installed quickly, used effectively, and removed just as easily once the event ends.
Why Temporary Fencing Matters for Events
Temporary fencing serves multiple purposes that go far beyond just marking boundaries:
- Improves Safety: Keeps guests away from restricted or hazardous areas.
- Provides Crowd Control: Directs movement and prevents overcrowding.
- Adds Security: Deters theft, trespassing, and unwanted entry.
- Defines Event Space: Creates a clear perimeter around your event for better organization.
- Protects Property: Prevents damage to landscaping, equipment, or staging areas.
Whether it’s a festival, wedding, sports game, or construction site event, temporary fencing is a practical solution that combines convenience and control.
Step-by-Step Guide to Putting Up a Temporary Fence
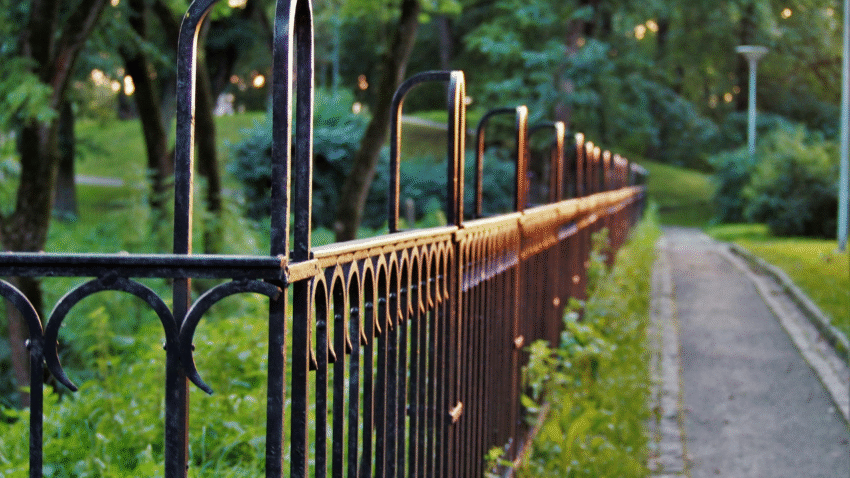
Step 1: Choose the Right Type of Temporary Fence
Temporary fences come in several forms. The best choice depends on your event’s size, location, and purpose:
- Chain-Link Panels: Durable, stable, and excellent for large events.
- Plastic Mesh or Barricades: Lightweight, cost-effective, and ideal for guiding foot traffic.
- Metal Barricades (Crowd Control Barriers): Perfect for concerts, festivals, and parades.
- Decorative Panels: Great for weddings or private functions where aesthetics matter.
Tip: If security is your top priority, go for chain-link or metal options. For casual gatherings, plastic mesh or barriers may be sufficient.
Step 2: Gather Tools and Materials
You’ll need temporary fence panels, bases or stands, clamps, and stabilizers (if required). For soft ground, stakes or anchors may be needed. A measuring tape, gloves, and a partner to help lift panels make installation easier.
Pro Tip: Rent fencing from an event supply company if you don’t want to purchase and store it afterward.
Step 3: Measure the Perimeter
Walk the event site and measure the total length of fencing required. Mark corners, entry points, and restricted areas with spray paint or stakes.
Design Tip: Include at least one wide entrance for equipment or emergency access in addition to smaller gates for guests.
Step 4: Set Up the Fence Bases
For panel fences, place weighted bases or stands at each marked point. Align them in a straight line along the event perimeter. Make sure the ground is level—uneven placement can lead to tipping.
Safety Note: On windy days, use sandbags or additional weights to stabilize the bases.
Step 5: Install Fence Panels
Lift the fence panels and insert them into the bases or stands. For chain-link or metal barricades, lock them into place with clamps or built-in connectors. Continue panel by panel until the perimeter is complete.
Pro Tip: Always set panels starting at one corner and work your way around to ensure alignment.
Step 6: Secure Panels Together
Once the panels are standing, secure them with clamps, ties, or bolts to prevent gaps or shifting. For large events or high-security needs, install stabilizers or angled braces to reinforce the fence.
Tip: Double-check that all connectors are tight and stable before allowing guests inside the event area.
Step 7: Add Gates or Access Points
Install designated entry and exit points using specialized gate panels or removable sections. Clearly mark these with signs to prevent confusion.
Pro Tip: Position gates near parking areas, walkways, or emergency access routes for convenience and safety.
Step 8: Inspect and Test Stability
Walk the entire fence line, pushing gently on panels to ensure they’re secure. Reinforce any wobbly sections with extra clamps, weights, or braces.
Safety Note: Assign staff or volunteers to monitor the fencing during the event in case adjustments are needed.
Common Mistakes to Avoid
- Mistake: Not measuring the site properly.
Solution: Measure the full perimeter in advance and order slightly more fencing than needed. - Mistake: Choosing the wrong fence type.
Solution: Match the fencing to the event’s needs—chain link for security, decorative panels for weddings, etc. - Mistake: Skipping stabilizers in windy areas.
Solution: Always use weights, sandbags, or braces if wind is a concern. - Mistake: Leaving gaps between panels.
Solution: Secure each section tightly to prevent people from slipping through. - Mistake: Forgetting gates or access points.
Solution: Plan multiple entryways in advance to avoid bottlenecks.
Extra Fence Tips & Hacks
- Add Banners or Covers: Temporary fences can double as advertising space or privacy screens by attaching mesh banners.
- Decorate for Style: For weddings or private parties, add flowers, fabric drapes, or lights to soften the industrial look of panels.
- Use Bright Colors: Orange or yellow mesh fencing improves visibility and safety at large events.
- Bonus Resource: See our guide on how to add decorative panels to a fence if you want ideas for making fencing both functional and stylish.
Conclusion
Temporary fencing is a must-have for safe and successful events. With the right type of fence, careful setup, and secure reinforcement, you can keep your guests safe, protect property, and maintain order throughout the event. Best of all, temporary fences are quick to install and just as easy to remove afterward.
Final Tip: Always over-prepare—order a few extra panels and clamps so you’re ready for last-minute adjustments.
Bookmark this guide to ensure your next event runs smoothly with the right temporary fencing solution.