Introduction
Your fence is only as strong as its weakest point—and most of the time, that’s the gate. An insecure gate makes it easy for intruders, animals, or even strong winds to compromise your property. Learning how to upgrade a fence gate for better security ensures your yard, home, and belongings stay protected. With the right hardware, reinforcements, and smart design choices, you can transform a weak spot into a reliable barrier.
Why Upgrading a Fence Gate Matters
Fence gates face more stress than any other part of your fence—they’re constantly opened, slammed, leaned on, and exposed to weather. Here’s why strengthening them is crucial:
- Prevent unauthorized access: Stronger gates deter intruders and make break-ins harder.
- Keep pets and children safe: Secure latches and reinforcements prevent accidental escapes.
- Reduce wear and sagging: Reinforcements prevent the gate from loosening or collapsing.
- Enhance durability: Upgraded hardware withstands heavy use and extreme weather.
- Peace of mind: Knowing your gate can’t be easily bypassed increases overall security.
Step-by-Step Guide to Upgrading a Fence Gate for Security
Step 1: Inspect Your Existing Gate
Before upgrading, evaluate what needs attention. Look for:
- Loose or sagging hinges.
- Weak or rusted latches.
- Gaps between the gate and posts.
- Wood rot or damaged panels.
- Easy-to-climb designs (like horizontal rails).
Tip: Write down problem areas—you’ll want to address each one during the upgrade.
Step 2: Reinforce the Gate Frame
A weak gate frame is easy to push through. Strengthen it by:
- Adding diagonal bracing (bottom hinge side to top opposite corner).
- Replacing cracked boards with pressure-treated lumber.
- Installing a metal gate frame kit for long-lasting durability.
Pro Tip: If the gate already sags, repair or rebuild the frame before adding security features.
Step 3: Upgrade Hinges
Hinges are the foundation of your gate’s strength.
- Replace standard hinges with heavy-duty strap or butt hinges.
- For large gates, use 3 hinges instead of 2.
- Consider security hinges that can’t be removed from the outside.
Tip: Always use galvanized or stainless steel hardware to resist rust.
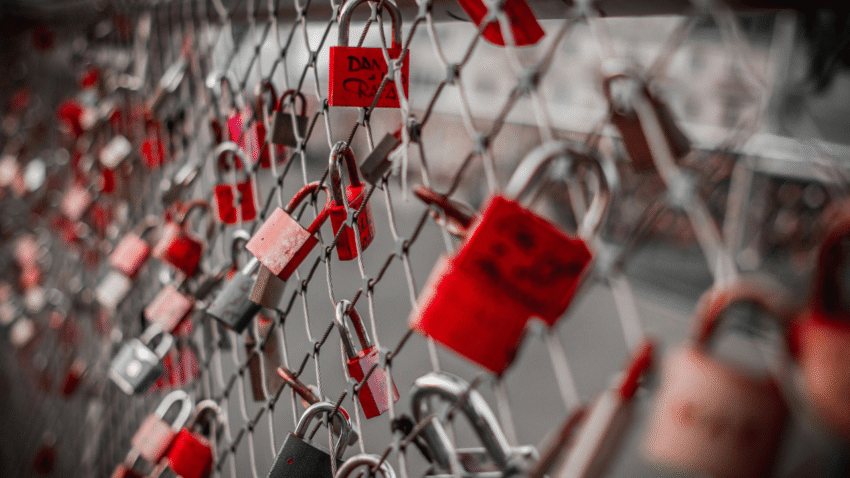
Step 4: Install a Stronger Latch or Lock
Latches are often the easiest point of entry.
- Upgrade to a lockable latch with a padlock option.
- Install a keyed gate lock for added security.
- Use gravity latches or spring-loaded latches for self-closing convenience.
- For ultimate security, consider a deadbolt-style lock designed for gates.
Pro Tip: Mount latches and locks on the inside of the gate to reduce tampering.
Step 5: Reduce Gaps and Weak Points
- Add weatherstripping or filler boards to close gaps where hands or tools could fit.
- Reinforce the post-to-gate connection with corner brackets.
- Ensure the gate swings snugly into place without wide openings.
Step 6: Secure Gate Posts
Even the best gate hardware won’t help if posts are loose.
- Reset leaning posts in gravel and concrete.
- Use metal post anchors for extra support.
- Add diagonal braces to posts for stability on taller or heavier gates.
Step 7: Add Anti-Climb Features
Prevent intruders (or adventurous pets) from scaling your gate:
- Install spiked caps or decorative finials on top.
- Use anti-climb panels or mesh to cover horizontal rails.
- Plant thorny shrubs or bushes near the gate for natural reinforcement.
Safety Note: Choose humane anti-climb options if children or pets will be nearby.
Step 8: Enhance Security with Accessories
Small upgrades can make a big difference:
- Gate wheels: Support large gates and prevent sagging.
- Motion-sensor lights: Deter nighttime tampering.
- Smart locks or keypads: Provide controlled access for family and guests.
- Cameras: Position a small security camera above the gate for monitoring.
Step 9: Perform a Security Test
After upgrading, test the gate by:
- Pushing and pulling firmly on it.
- Checking if the latch resists prying or lifting.
- Ensuring hinges don’t loosen under stress.
- Trying the gate from the outside to see if any weaknesses remain.
Common Mistakes to Avoid
- Mistake: Using standard interior hardware.
Solution: Always use exterior-grade, rust-resistant hardware for durability. - Mistake: Ignoring sagging posts.
Solution: Secure posts firmly before upgrading gate components. - Mistake: Choosing locks that are inconvenient.
Solution: Balance security with practicality—choose a system you’ll actually use daily. - Mistake: Leaving gaps for tools.
Solution: Seal gaps where crowbars or hands could pry the gate open. - Mistake: Skipping maintenance.
Solution: Lubricate hinges, tighten screws, and test locks regularly.
Extra Fence Tips & Hacks
- Double lock system: Use both a latch and a secondary padlock for high-security gates.
- Weather protection: Spray hardware with a rust-protective coating for longevity.
- Decorative upgrades: Security doesn’t have to look ugly—choose stylish hardware that complements your fence design.
- Pet-proofing: For added peace of mind, reinforce the bottom of the gate with mesh to prevent digging escapes.
For more ideas, check out our guide on how to reinforce a fence for extra strength—a secure gate starts with a strong fence.
Conclusion
Learning how to upgrade a fence gate for better security transforms the weakest link in your fence into its strongest point. By reinforcing frames, upgrading hinges, installing reliable locks, and adding anti-climb features, you create a gate that resists intruders, keeps pets and kids safe, and stands up to weather.
Pro Tip: Regular inspections and small maintenance tasks (tightening, lubricating, and sealing) are the key to keeping your upgraded gate secure for years.
Bookmark this guide and return to it whenever you’re ready to boost your property’s security—your gate can be as tough and reliable as the fence around it.