Introduction
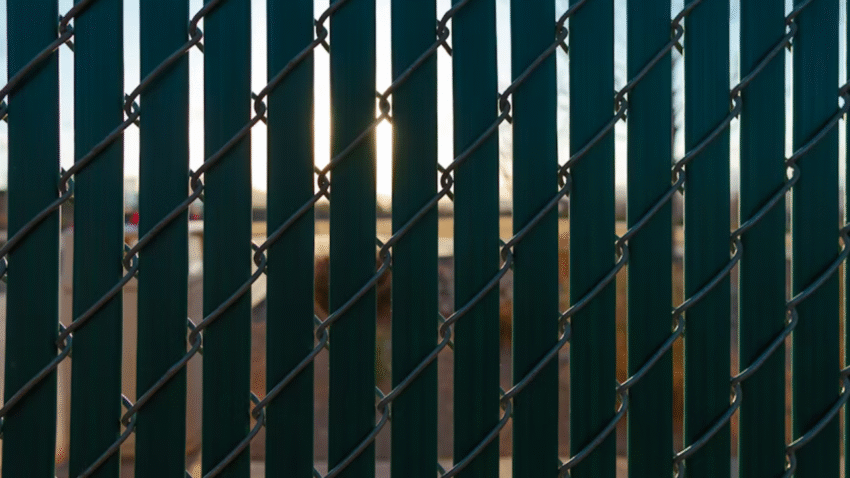
Metal fences are known for their strength, durability, and security. But over time, exposure to rain, humidity, and sun can cause rust to appear. Left untreated, rust weakens the structure, ruins the appearance, and shortens the life of your fence. Learning how to fix a rusty metal fence is essential if you want to restore its beauty and protect it from further damage.
Why Fixing a Rusty Metal Fence Matters
Rust might seem like just a cosmetic issue, but it goes much deeper:
- Prevents structural damage: Rust eats away at metal, making it brittle and unsafe.
- Restores appearance: A freshly cleaned and painted fence looks as good as new.
- Extends fence life: Regular rust maintenance adds years of durability.
- Saves money: Fixing rust early avoids costly replacements.
- Boosts curb appeal: A clean, strong fence improves your property’s overall look.
Rust spreads quickly, so timely repair is key to maintaining both function and style.
Step-by-Step Guide to Fixing a Rusty Metal Fence
Step 1: Inspect the Fence
Walk along the entire fence line and note where rust has formed. Check:
- Flaking paint or powdery rust spots.
- Weak areas where rust has penetrated deeply.
- Posts near soil contact—these often rust first.
Mark all areas that need attention.
Step 2: Gather Materials and Tools
You’ll need:
- Wire brush or drill with wire wheel attachment
- Sandpaper (medium and fine grit)
- Rust converter or rust neutralizer
- Rust-inhibiting primer
- Exterior-grade metal paint (spray or brush-on)
- Drop cloths, painter’s tape, and protective plastic sheeting
- Safety gloves, goggles, and mask
Step 3: Remove Loose Rust and Paint
Scrub rusted areas with a wire brush or power drill attachment. Remove flaking paint and as much rust as possible. For smaller spots, sand with medium-grit paper until the metal surface is smooth.
Pro Tip: For large jobs, consider renting a sandblaster—it makes removing stubborn rust faster and more thorough.
Step 4: Smooth and Clean the Surface
After brushing and sanding, wipe the surface with a damp cloth to remove dust and debris. Allow it to dry completely before moving on.
Step 5: Apply Rust Converter (Optional)
For areas where rust remains in pits or hard-to-reach spots, apply a rust converter. This chemical treatment neutralizes rust and turns it into a stable surface for painting. Follow manufacturer instructions for drying time.
Step 6: Prime the Metal Fence
Apply a rust-inhibiting primer to all bare metal areas. This step is crucial for preventing future rust. Use a brush for detailed spots or a spray primer for large sections. Allow primer to dry thoroughly.
Step 7: Paint the Fence
Finish with two coats of exterior-grade metal paint. Choose an oil-based or epoxy paint specifically designed for metal. Apply thin, even coats to avoid drips. Allow the first coat to dry before applying the second.
Pro Tip: Darker colors hide imperfections better, while lighter shades may show surface irregularities.
Step 8: Inspect and Touch Up
Once the paint has dried, walk the fence line and touch up any missed spots. Pay extra attention to joints, welds, and bottom edges where rust often starts.
Common Mistakes to Avoid
- Mistake: Painting Over Rust
- Problem: Rust continues to spread under the paint.
- Solution: Always remove or neutralize rust before painting.
- Mistake: Skipping Primer
- Problem: Paint peels and rust returns quickly.
- Solution: Use a rust-inhibiting primer for long-lasting results.
- Mistake: Incomplete Rust Removal
- Problem: Small leftover rust patches spread rapidly.
- Solution: Thoroughly scrub and sand all affected areas.
- Mistake: Using Interior Paint
- Problem: Paint fails when exposed to rain and sun.
- Solution: Use exterior-grade metal paint only.
- Mistake: Ignoring Fence Posts at Ground Level
- Problem: Posts rot from the base, causing collapse.
- Solution: Pay special attention to post bottoms and reinforce with extra sealant.
Extra Fence Tips & Hacks
- Apply clear sealant: For extra protection, add a weatherproof clear coat after painting.
- Use rust-resistant screws/bolts: Replace any rusting hardware with stainless steel or galvanized alternatives.
- Regular maintenance: Inspect and clean your fence annually to catch rust early.
- Install post caps: These prevent water from entering hollow posts, reducing rust inside.
👉 For more durability tips, check out our guide on how to protect a fence during storm season.
Conclusion
A rusty fence doesn’t mean it’s time to replace it. With the right tools and techniques, you can restore strength, improve appearance, and protect your investment. By removing rust, applying primer, and finishing with durable paint, your metal fence will look new again and stand strong for years to come.
💡 Remember: rust is easiest to fix when caught early—don’t wait until it eats through your fence.