Introduction
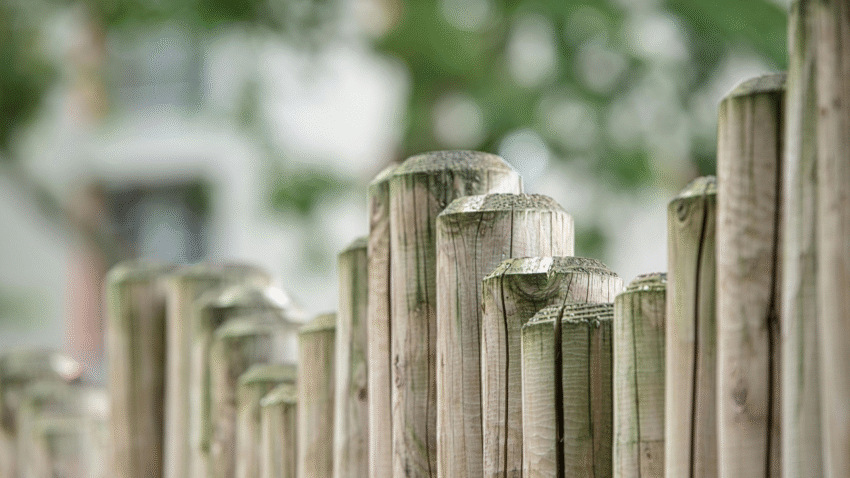
Over time, fences naturally wear down due to wind, rain, and general outdoor exposure. One of the most common problems homeowners face is loose pickets. Whether it’s a wooden fence that’s rotting around nails, or a vinyl fence where clips have weakened, loose pickets compromise both strength and appearance. Fortunately, learning how to fix loose pickets in a fence is a simple repair you can usually complete in under an hour. With a few tools and some practical steps, you can restore your fence to full strength and keep it looking sharp.
Why Fixing Loose Pickets Matters
You might be tempted to ignore a single wobbly picket, but loose sections can quickly lead to bigger issues. Here’s why you should repair them right away:
- Prevents Escapes: Pets or small children can slip through weak gaps.
- Maintains Structural Strength: Loose pickets put strain on rails and posts.
- Reduces Costs: Early fixes prevent full panel replacements later.
- Improves Appearance: Keeps your fence neat, aligned, and professional looking.
- Increases Durability: Properly secured pickets withstand storms and high winds better.
Think of picket repairs as quick tune-ups—small investments that extend your fence’s overall life.
Step-by-Step Guide to Fixing Loose Fence Pickets
Step 1: Inspect the Fence
Walk along your fence and test each picket by gently pulling on it. Identify which ones are loose, cracked, or rotting. Check rails and posts too—sometimes the problem isn’t the picket itself, but the support it’s attached to.
Tip: Mark each loose picket with chalk or tape so you don’t miss any during repairs.
Step 2: Gather Tools and Materials
For wooden fences, you’ll need:
- Hammer or drill
- Galvanized nails or exterior screws
- Wood glue (optional for reinforcement)
- Replacement pickets (if damaged)
- Safety gloves
For vinyl fences, you may need replacement clips, screws, or adhesive recommended by the manufacturer.
Pro Tip: Always use galvanized or stainless steel fasteners—they resist rust and keep repairs long-lasting.
Step 3: Remove Old Fasteners
If nails or screws have come loose, pull them out with pliers or a drill. For vinyl pickets, carefully unclip or slide them out of their rails.
Safety Note: Wear gloves to avoid splinters or cuts from rusty nails.
Step 4: Reattach with Screws or Nails
Position the loose picket flush against the rail. Drive galvanized screws (preferred) or nails through the picket into the rail. For best results:
- Use two fasteners per rail connection.
- Angle nails slightly for a tighter hold.
- For screws, pre-drill small holes to prevent splitting wood.
Pro Tip: Screws hold longer than nails and are easier to remove for future repairs.
Step 5: Replace Damaged Pickets
If a picket is cracked, rotted, or broken, replace it entirely. Measure the old picket, cut a new one to size, and attach it with screws. Make sure the new picket aligns with adjacent ones for a uniform look.
Tip: Stain or paint the new picket before installation to match the rest of the fence.
Step 6: Reinforce Weak Spots
If rails are soft or damaged, even newly attached pickets won’t hold well. Reinforce by:
- Installing a sister rail (an extra board screwed alongside the weak section).
- Adding brackets or corner braces for stability.
- Using wood filler for small cracks in rails.
Safety Note: For extensive rail rot, replacing the full rail may be necessary.
Step 7: Seal and Protect the Fence
Once repairs are done, apply stain, paint, or sealant to wooden fences. This helps prevent future loosening caused by rot and weather exposure. For vinyl, wash the surface with soapy water to keep clips and joints clean.
Pro Tip: Re-seal wood fences every 2–3 years for maximum durability.
Common Mistakes to Avoid
- Mistake: Using indoor nails or screws.
Solution: Only use outdoor-rated galvanized or stainless fasteners. - Mistake: Overdriving fasteners.
Solution: Don’t sink screws or nails too deep—they can split the picket. - Mistake: Ignoring damaged rails.
Solution: Always inspect and reinforce rails if pickets keep loosening. - Mistake: Skipping protective finish.
Solution: Seal or paint wooden fences to stop moisture from weakening fasteners. - Mistake: Misaligning pickets.
Solution: Use a level or string line to keep the fence looking even.
Extra Fence Tips & Hacks
- Upgrade to Screws: Replace nails with screws throughout the fence for fewer loose pickets long-term.
- Add Glue for Strength: A dab of exterior wood glue behind pickets offers extra holding power.
- Seasonal Checks: Inspect fences each spring and autumn to catch loose pickets before storms do.
- Bonus Resource: See our guide on how to reattach a fallen fence panel for larger repairs beyond single pickets.
Conclusion
Loose fence pickets may be a common issue, but they’re one of the easiest repairs you can make. By inspecting your fence, removing weak fasteners, reattaching with durable screws, and reinforcing weak rails, you’ll restore strength and appearance quickly. Regular maintenance keeps your fence secure, attractive, and capable of standing up to the elements.
Final Tip: Treat fence repairs as routine care—fixing a loose picket today prevents an entire panel from falling tomorrow.
Bookmark this guide so you’ll always know how to keep your fence solid, safe, and long-lasting.